2008-03-17

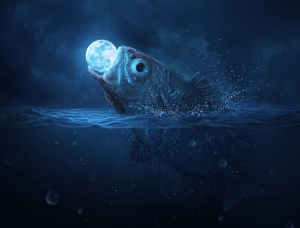
6、关键一步,把人物图层的模式改为“划分”,我用水滴画笔沿着头部轮廓刷一些水滴,可以去网上下载相关的笔刷。

7、到这里之后,就是漫长而富有耐心的加水滴工作了,新建一个文件夹,命名为水滴,放到背景层的上一层,在文件夹里面新建N个图层,每个里面用画笔放一种水滴笔刷,然后把全部图层混合模式改为“划分”,把水滴贴近人物的边缘,按Ctrl + T 变化,右键扭曲,然后添加蒙版,用黑色画笔涂掉不需要的部分。

8、其它部分的水珠可以截取下面素材中的局部或全部。
9、继续对水滴轮廓进行完善。

<点小图查看大图>

<点小图查看大图>